
Doll Dress Tutorial
Let's start with a little tutorial for the dress that is included in the Rag Doll Pattern.
Materials
Dress fabric* - 0.25 yard
Needle and thread
Snaps or buttons
*Note that quilting cottons, linen or other light fabrics will be easiest. Heavier fabrics, like denim or corduroy will likely be difficult (or impossible) to turn at the shoulders.
Instructions
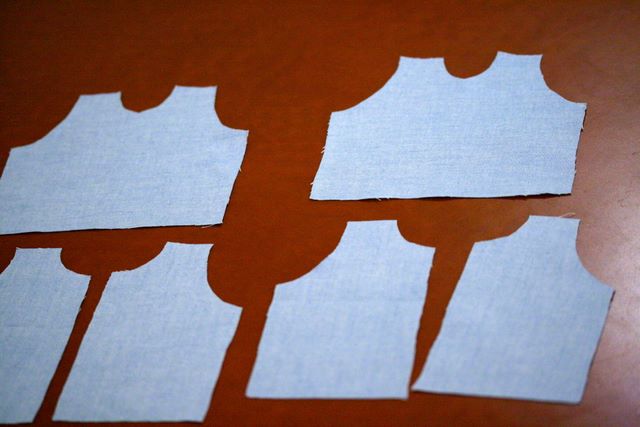
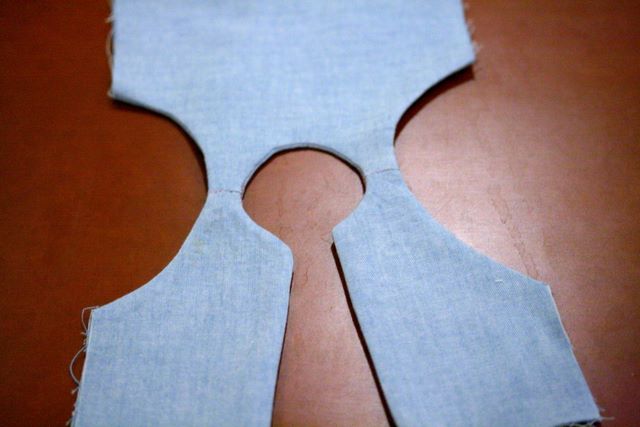
1) Cut out bodice pattern pieces from dress fabric.
2) Cut out an additional piece of fabric measuring 8 by 30 inches.
3) Sew bodice front to back at shoulders.
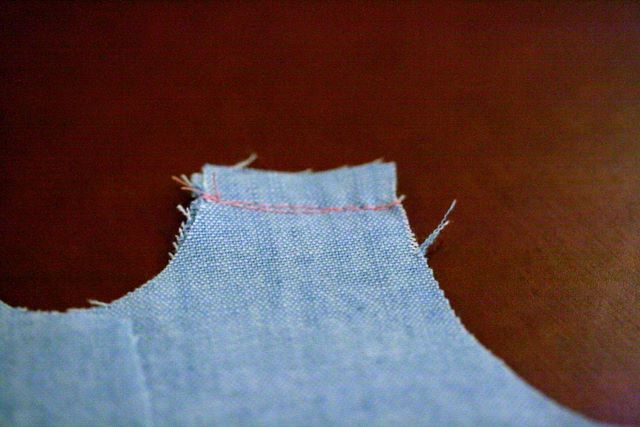
Press seams flat. You will have two bodice pieces. One piece will be the outer top and the other will be the lining.
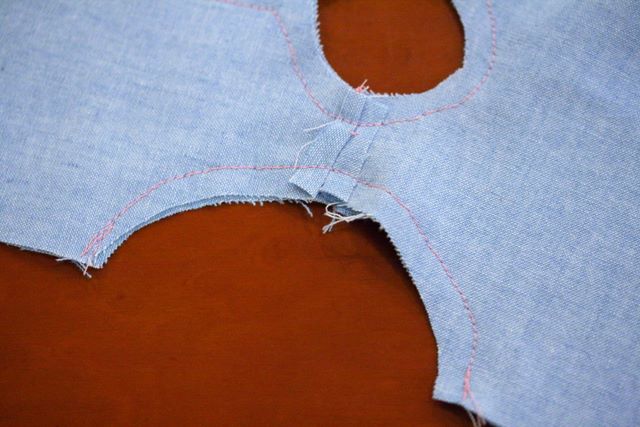
4) Placing right sides of the two bodice pieces together, sew around neckline and down the two bodice back edges. I am using a contrasting color thread for illustration.

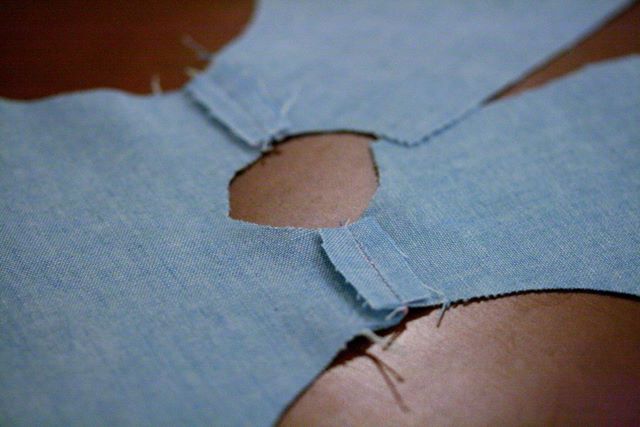
5) Sew left and right armholes.
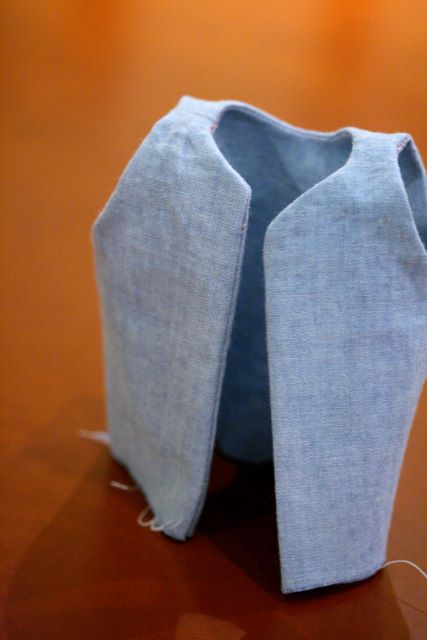
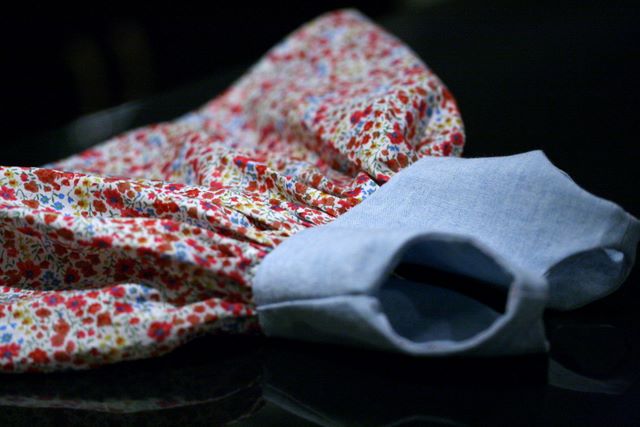
6) Clip curves and corners, turn and press. When you turn, you are primarily pulling the bodice structure inside out, which involves pulling a lot of fabric through the narrow shoulder opening. You may want to use some tweezers to gently nudge it through. Again, using a lighter, thinner fabric helps this process.
7) Sew sides together. This is the last step to complete the bodice top. If you have never done this before, then take a moment to look at the remaining edges before you start sewing. You will basically start with the two ends of an armhole (sewn in step
5). Open up both sides, with the seam in the middle, and then bring them together - right sides facing - and sew straight across. Turn and press.
8) Prepare skirt. Fold and press 0.5 inches on one long side of the rectangular piece of fabric. Fold and press the same amount again. Topstitch over fold.
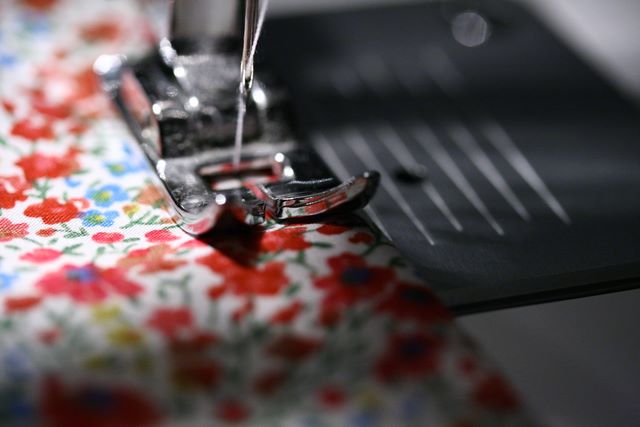
9) Sew the two short sides of the rectangle together, right sides facing, from the hemmed edge (step 8) to approximately 2.5 inches from the top edge (the un-hemmed long side). Press seam open and continue pressing up through the 2.5 inches of the unsewn area. If you like, you can cut a bias strip and sew it to the skirt opening. If you have never done this before or are feeling lazy, you can instead top stitch down over both sides of the skirt opening folds.
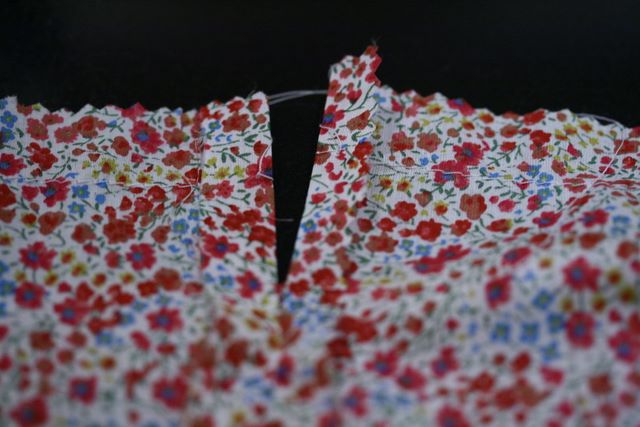
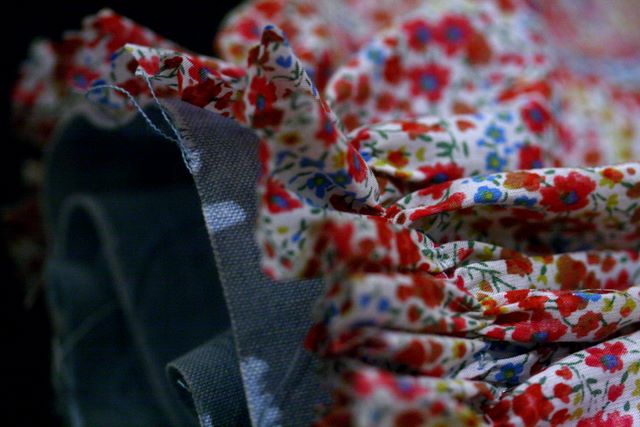
10) Run long gathering stitches along the unfinished (top) side of the rectangle. Typically, two gathering lines are run in case the first one breaks while adjusting. Run one 0.5 inches from the side and the second 1 inch from the side. If you have lots of experience, you can get away with one line. Pull gathering threads.
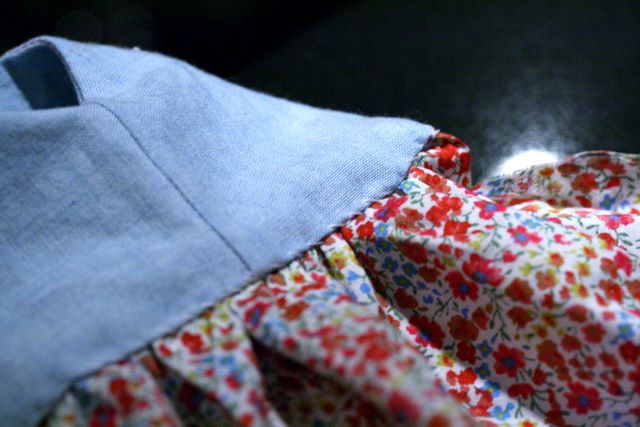
11) Align the bottom of the outer bodice to the gathered skirt, right sides facing. Pin, baste and then sew. This pattern is drafted with a large allowance on the bodice for attaching the skirt. Your final seam should be stitched 1.5 inches from the edge. If you prefer a narrower edge, just trim 1 inch from the bottom of the bodice and the top of the skirt and then use a 0.5 inch seam allowance. Once your skirt is attached, go back and trim the excess fabric.
12) Attach lining to skirt seam by hand. Topstitch if desired.

13) Finish the back of the dress with buttons, snaps or Velcro.
posted by Rebecca @ 7:55 AM
![]()

2 Comments:
I love your rag doll patter. Thank you for shareing it. I do have 2 questions. Do you have a pattern for a long sleve dress? And do you have a pattern for the bibs? I have a granddaughtyer who would love the baby and a grandson who would like a baby boy. Thanks for your time Malissa
really neat. i am going to try to add sleeves and make a teared skirt.
Post a Comment
<< Home